Repairs · Toronto
Garage Door Bottom Seal Replacement
One end of the bottom seal has slipped out of its channel and hangs down like a loose shoelace. Each time the door closes it folds under, each time it opens it flaps, and the gap beside it keeps growing.
Garage Door Bottom Seal Replacement
In plain words
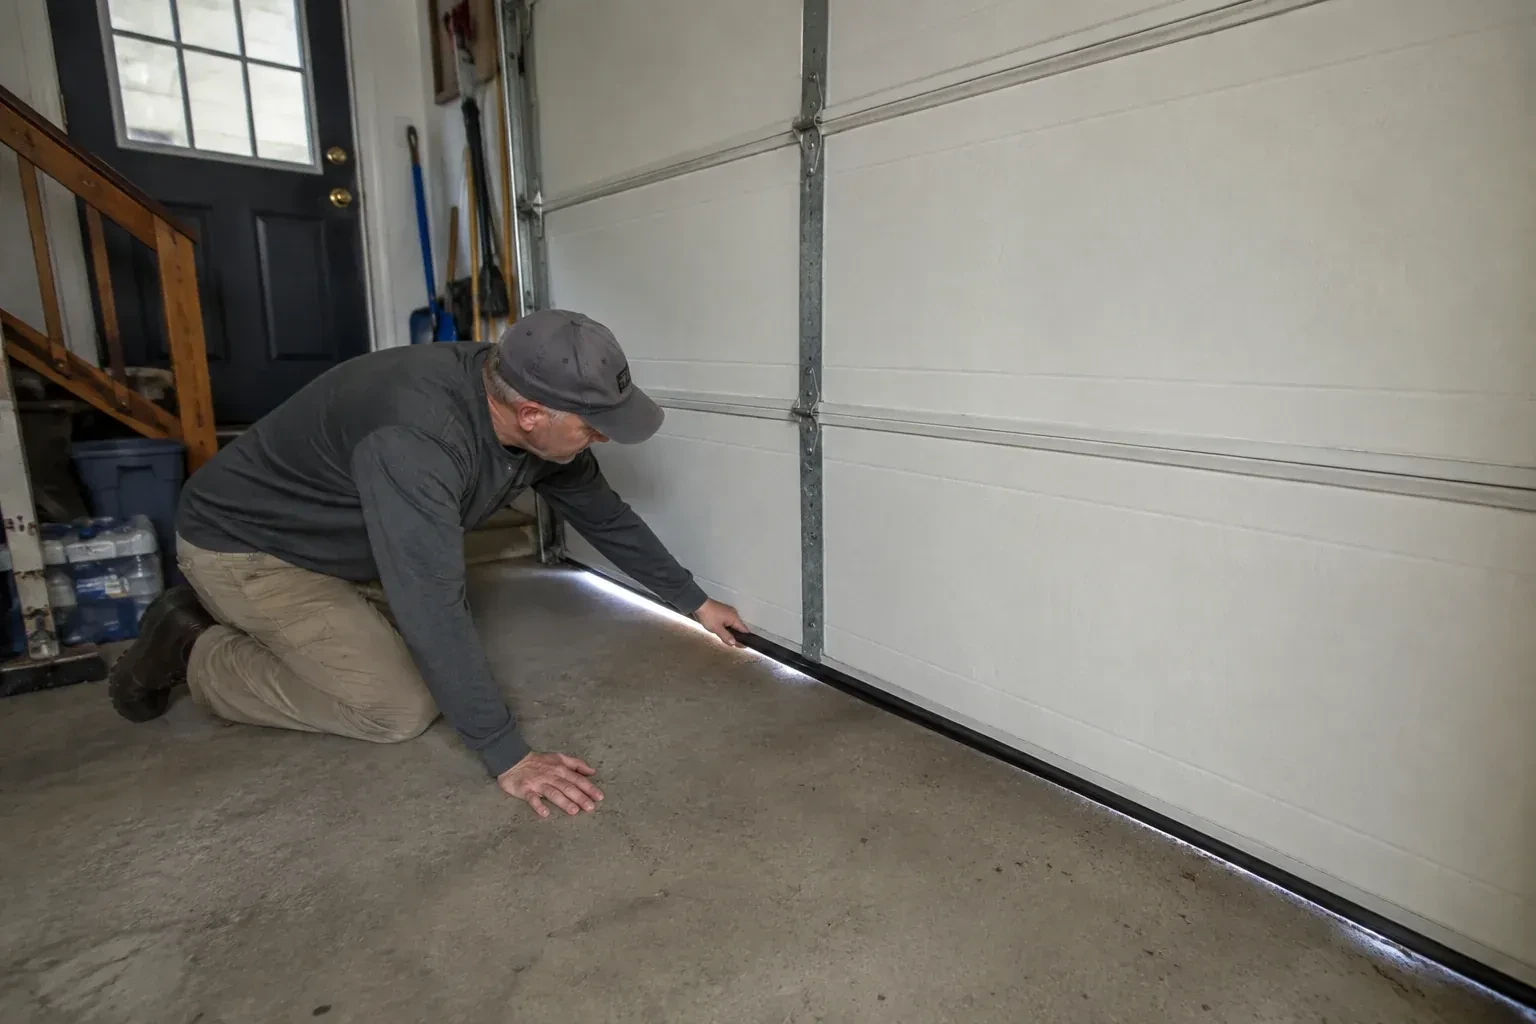
Not every gap under a garage door is the seal, so the service begins with finding out what the gap is. A strip of light the whole width usually means a seal that has flattened or hardened. A gap at one corner only points to a door hanging out of level or a slab that has settled there. A gap in the middle suggests a bowed bottom section or a crowned floor. Reading these before choosing a seal means the new strip is sized to fill the space that is really there, and any door or floor issue is named and dealt with rather than hidden behind a thicker bulb.
How the visit goesThe gap under the door is a finger wide at one end and nothing at the other. The door itself looks straight, but the floor drops away toward the corner where the slab has settled, and drafts pour through the wedge.
Toronto
How the visit goes
Is the door hanging level?
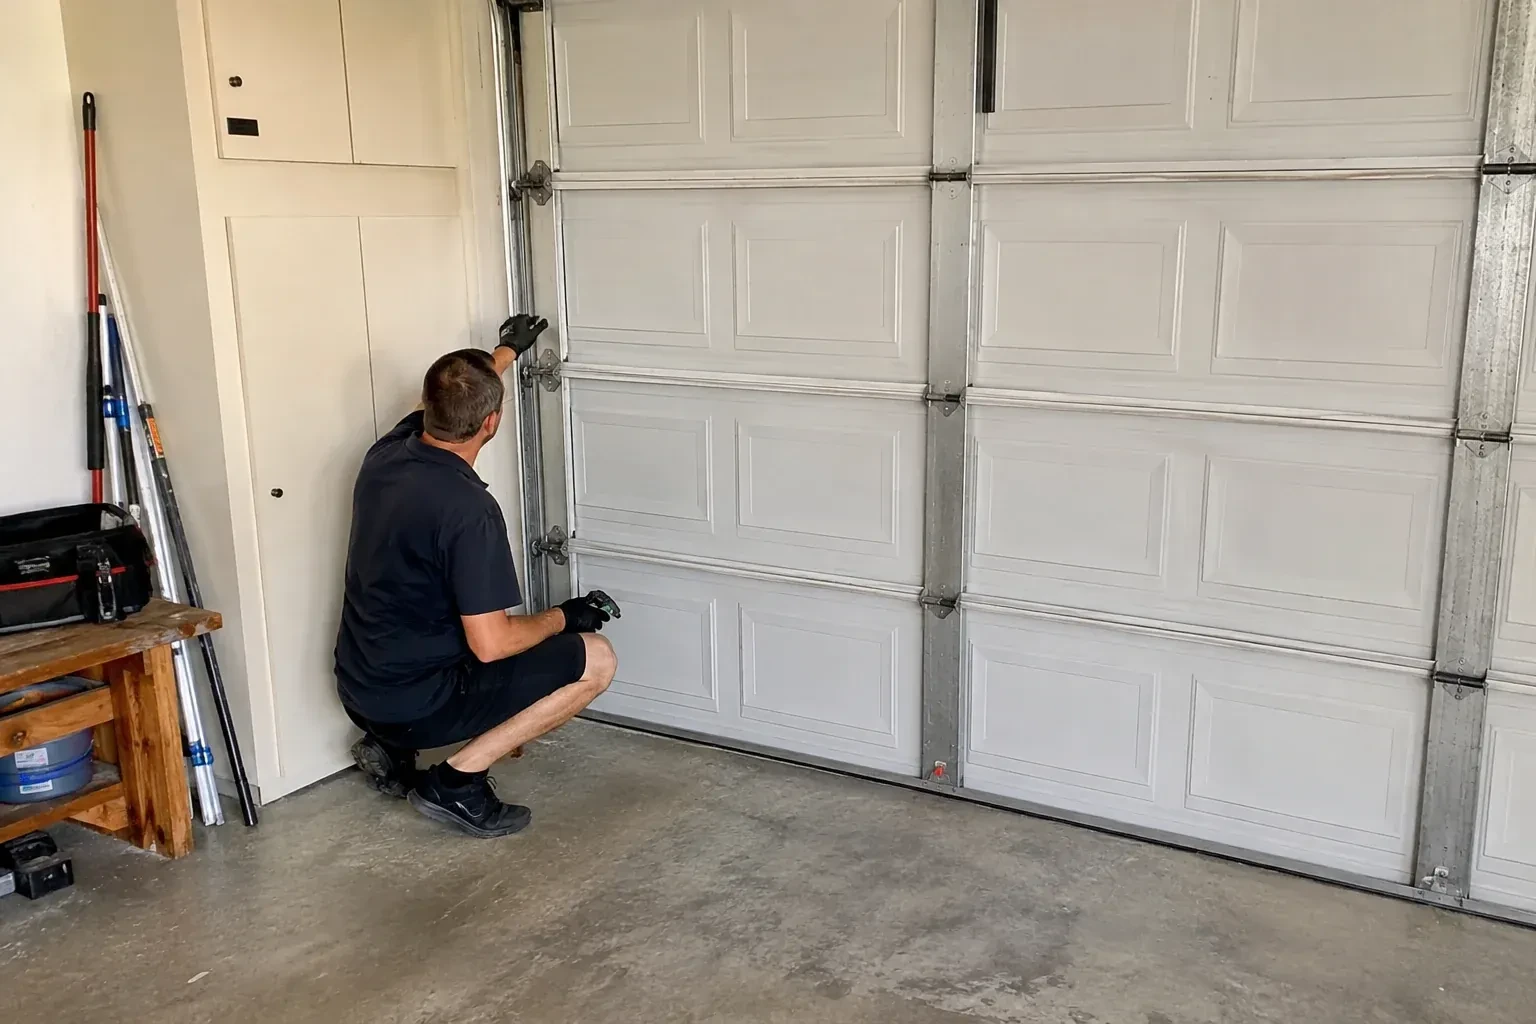
A gap that is wider at one corner is often the door rather than the seal. The technician checks that the door sits square in the opening by comparing the bottom edge to the floor at both ends and looking at how each lift cable wraps its drum. A stretched cable, a drum that has crept on its shaft or uneven spring tension drops one corner a centimetre or two, and setting the door level is what closes that wedge. If the door is out of level, the adjustment is explained as its own item and done first, and the seal is then sized to the gap that remains. Getting the order right saves fitting a seal twice.
Fitting a new retainer where needed
If the inspection found a retainer that is bent, corroded or spread open, it is replaced before the seal goes in. The old extrusion is unscrewed or its rivets drilled out, the bottom rail is cleaned and any rust treated, and a new aluminum retainer is fixed straight along the rail with fresh self-drilling screws, checked with a straightedge so the channels run true. Fastener heads are sealed against meltwater. On a door whose channel was moulded into a plastic bottom cap, a screw-on retainer is fitted over the rail so a standard seal can be used from now on.
A clear threshold through winter
The seal closes onto whatever is on the floor, so the threshold deserves a moment when you clear the driveway. Push packed snow and the ridge of ice that forms where the door meets the slab away from the opening before running the door, and sweep salt piles and grit clear of the line so they are not ground into the strip. Park a little further in, if the garage allows, so drips from the car fall on the floor rather than at the seal. These are the same habits that protect the bottom brackets and cables in the corners.
Garage Door Bottom Seal Replacement
In the van
- Track clamps
- Seal end caps
- Wire brush and scraper
- Straightedge and tape measure
- Bead-style bottom seal
What affects the quote
Same fees day, night or weekend
1Wood door nail-on strip
A wood door with a nailed strip takes a different product and more fastening time than a channel seal, and adding a retainer to a wood rail is a further option to consider.
2Seal profile and size
T-style, bead and bulb profiles in different widths and heights sit at different points on the parts list, and the retainer on your door decides which one is used.
3Bottom section repairs
A rusted, dented or bowed steel bottom rail, or a rotted wood rail, is pointed out and any repair or reinforcement offered as an option beside the seal work.
Garage Door Bottom Seal Replacement: questions
What happens during the visit?
The technician maps the gap with the door closed, checks the door is level and the bottom section straight, and identifies the retainer and profile. The opener is disconnected and the door clamped at working height. The old seal comes out, the channels are cleaned, a new seal is cut and fed in, and any retainer work is done. The door is then closed under power, the opener reset, and the reversing and photo-eye tests run.
Does the opener need adjusting after the seal is changed?
Usually, yes. A new seal is taller than the flattened one it replaces, so the door reaches the floor sooner. Left alone, the opener either presses too hard and bows the bottom section or senses the resistance and reverses. The technician resets the down limit so the seal compresses gently, checks the force, and runs the reversing test with a 38 mm (1.5 in) solid object or a 2x4 laid flat under the door so the safety features still behave as they should.
Is this something I can do myself?
Many homeowners do, and a technician's value lies in the parts that go wrong: identifying the exact profile so the seal seats, freeing a strip that has fused into its channel, spotting a retainer or door-level problem behind the gap, and resetting the opener's limit and force so the door lands gently and still reverses on an obstruction. If you would rather have it measured, fitted and tested in one go, that is what the visit is for.
Repair & Maintenance
- Garage Door Tune-UpEvery morning the door announces itself to the whole street: a long metallic squeal as it climbs, a…
- Off-Track Garage Door ResetThe morning after a thaw the opener groaned, the door stayed stuck to the icy floor for a second…
- Garage Door Panel ReplacementYou misjudged the last metre of the driveway and felt the bumper meet the door.
Garage Door Bottom Seal Replacement near you
The garage door services we bring to Toronto fall into four groups: repair and maintenance for doors that are sticking or noisy; springs and lifting hardware; openers, remotes and access; and new door installation or upgrade for homes and businesses that are ready for a change.