Repairs · Toronto
Garage Door Perimeter Weatherstrip
Every time the door closes there is a rubbing squeal along one side, and the flexible fin has folded under itself and torn. Someone painted the trim last summer and painted the seal with it; now it is stiff as a board.
Garage Door Perimeter Weatherstrip
In plain words
Around a garage door there are three seals: one on the bottom edge of the door, and two running up the sides and across the top of the opening. Those last two are the perimeter weatherstrip. They are fixed to the stop moulding on the jambs and header, and their flexible fin rests against the door face when it is closed, closing the gap between door and frame. Replacing them means fitting new lengths that meet the door evenly, cutting down how much wind, driven snow, dust, leaves and small animals get through. The bottom seal is handled as its own job, but the two are often done together.
How the visit goesThe new door went in last year and looks perfect, but the old wooden stop and its tired seal were left in place. Along the top there is a gap you could slide a finger into, and the cold pours through it.
Toronto
How the visit goes
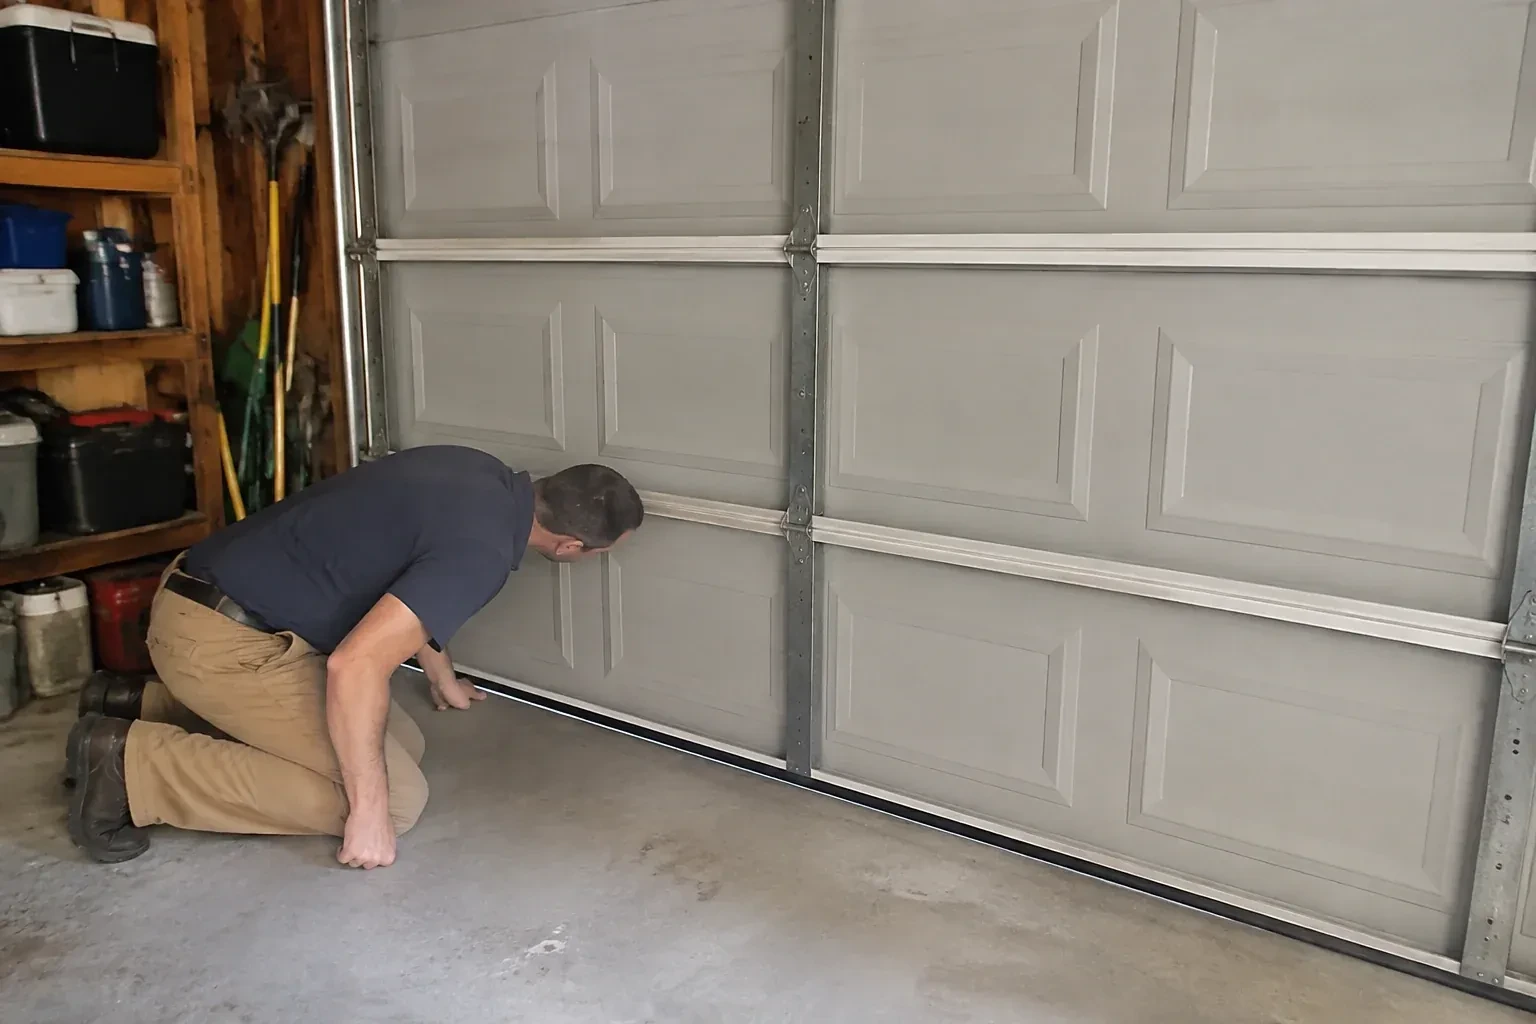
Probing the jambs and header
The strip is only as secure as the wood behind it, so the jambs are probed with an awl along their length and especially the lowest part, where slush and salt sit all winter. Soft, dark or crumbling wood is marked for repair. The header is checked for sag and for gaps opening between it and the top section. Where the jambs are clad in aluminum or vinyl, the technician looks for what the cladding hides and for where the seal can be fastened through to solid material. This step often adds a splice of new lumber or PVC trim to the job, and it is what makes the new seal stay put.
Fitting the sides and closing the corners
Each side length is cut to run from tight under the header piece down to the floor, with a little spare to trim in place. It is set with the same light contact as the header and fastened top to bottom. At the top corner, the side fin tucks under the header fin so they overlap, leaving no square hole for drafts or mice. At the floor the side is trimmed to meet the bottom seal on the door, so the seal is continuous around three sides and hands off to the fourth. Both sides are done the same way, checking the door edge gap as they go.
A note of what was fitted
Before leaving, the technician tells you what went on: the seal type, the profile and fin width, the colour, and the lengths of the header and sides. It is worth writing this on a card near the opener or in the door's paperwork. If one length is ever damaged, by a ladder or a car mirror, the same profile can be matched and a single piece replaced rather than the whole set. If a jamb was repaired, the note records where and with what, so anyone painting or working on the frame later knows what is behind the finish.
Garage Door Perimeter Weatherstrip
In the van
- Flexible vinyl fin seal
- Utility knife and mitre saw
- Jamb repair lumber or PVC trim
- Vinyl stop moulding with integral seal
- Flat bar, hammer and nail set
What affects the quote
Same fees day, night or weekend
1Weather on the day
Cold weather means keeping vinyl warm between the van and the opening and fitting each length with extra care, so a winter visit can run a little longer than one in mild weather.
2Commercial or oversized openings
Wider and taller commercial doors often carry an aluminum retainer with a rubber insert or a brush seal, and the material and fitting time differ from a residential vinyl seal.
3Size of the door
A double door has a longer header and the same two sides as a single, so more material and a two-person lift for the top piece; taller openings take longer side lengths.
Garage Door Perimeter Weatherstrip: questions
How can I tell the side and top seal needs replacing?
Close the door, turn off the garage lights and look along the edges for daylight. Then press the fin with a thumb: it should be soft and spring back. Hardness, cracks, pieces missing, a strip hanging loose, snow or leaves inside along the edge, or a fin that has folded under and torn are all signs. A rubbing squeal as the door moves is another.
How should I look after the new seal?
Four times a year, check for daylight from inside with the lights off and press the fin to feel that it is still soft. Wipe the seal with a damp cloth to clear grit and salt, keep paint off the fin, apply a silicone wipe before winter, and keep slush and bins away from the bottom of the jambs. Press any lifted corner back and call if a length has come loose.
Can the seal be replaced in winter?
Yes. The technician keeps the lengths warm in the van until the moment they are fitted, because cold vinyl is stiff and can split at a fastener, and works with the door closed so the garage is not open to the weather for long. Jamb repairs can be done in the cold as well. Many households have it done in autumn or winter because that is when the gaps make themselves felt.
Repair & Maintenance
- Garage Door Tune-UpEvery morning the door announces itself to the whole street: a long metallic squeal as it climbs, a…
- Off-Track Garage Door ResetThe morning after a thaw the opener groaned, the door stayed stuck to the icy floor for a second…
- Garage Door Panel ReplacementYou misjudged the last metre of the driveway and felt the bumper meet the door.
Garage Door Perimeter Weatherstrip near you
The garage door services we bring to Toronto fall into four groups: repair and maintenance for doors that are sticking or noisy; springs and lifting hardware; openers, remotes and access; and new door installation or upgrade for homes and businesses that are ready for a change.