Openers · Toronto
Garage Door Opener Diagnosis and Repair
The door goes up perfectly. Coming down is the trouble: partway to the floor it stops, climbs back to the top, and the light on the opener blinks at you.
Garage Door Opener Diagnosis and Repair
In plain words
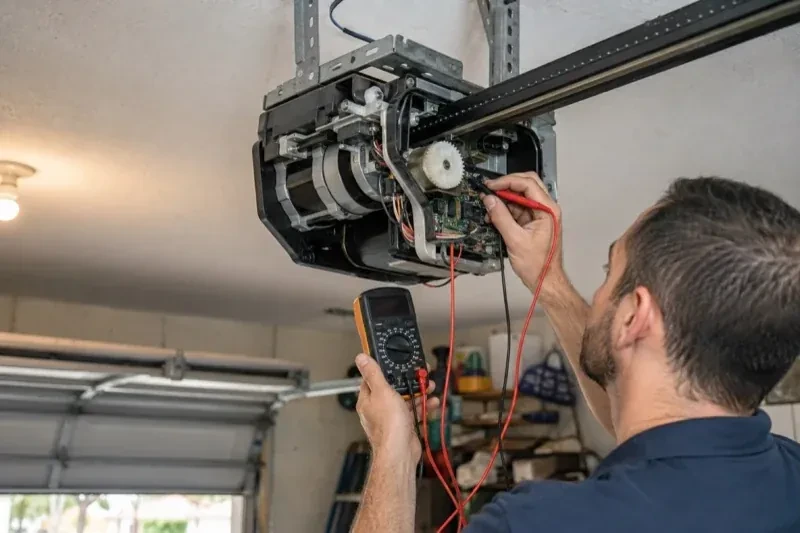
Every diagnosis ends with the same two tests, because an opener that moves the door is only half fixed. First, a length of 2x4 is laid flat on the floor under the centre of the door and the door is closed onto it; it must reverse on contact and return to fully open. Second, with the door closing, an object is passed through the photo-eye beam near the floor; the door must stop and reverse. These tests are how the opener standard defines a working unit, and they are how the technician proves that the fault found was the fault fixed.
How the visit goesThe wall button works every time. The remote only works if you are practically under the door; from the end of the driveway it does nothing at all. It started around the time you changed the bulbs in the opener to LEDs.
Toronto
How the visit goes
The two small eyes near the floor
The photo-eye sensors are inspected together with their wiring. Each sensor carries a small indicator; a steady light on both means the beam is aligned, while a flicker, a dark light or one that goes out when the bracket is nudged points to misalignment, a loose mount or a damaged wire. The technician sights along the beam, looks for obstructions, cobwebs, frost and low sun on the receiving lens, checks that the sensors sit no higher than about fifteen centimetres off the floor, and traces the wire back to the head unit for staples, kinks and chew marks. Sensor faults are the single commonest reason a door refuses to close.
Sensor alignment and replacement
Photo eyes are brought back into service by fixing what actually broke. A bent bracket is straightened and re-secured so the two lenses face each other at the same height; dirty or frosted lenses are cleaned; a receiving eye blinded by low winter sun gets a shade, or the pair is swapped side to side. Wire that has been stapled through, chewed or pulled from its terminals is re-run with fresh bell wire, clipped clear of the track. When a sensor's electronics have failed, the pair is replaced together with units made for that opener, then the beam test is repeated to prove the circuit closes and the door reverses.
Knowing the red handle
The red cord hanging from the rail is the emergency release, and you now know how to use it properly. Pull it only when the door is closed, so a door that turns out to be unbalanced has nowhere to fall. The door then lifts by hand, useful during an outage. To reconnect, most units re-latch when the opener is run and the trolley meets the carriage, or when the door is lifted until it clicks. The handle should hang no higher than about 1.8 metres and clear of the car. If the door feels heavy when released, that is a spring message, not a test of strength.
Garage Door Opener Diagnosis and Repair
In the van
- Remote batteries (coin and cylinder cells)
- Chain or belt
- Logic board or receiver
- Wall control
- Transformer and board fuse
What affects the quote
Same fees day, night or weekend
1Repair or replacement
When diagnosis points to replacement, the quote changes shape entirely: a new head unit, rail and sensors with installation, plus removal of the old opener, rather than a single part and labour.
2Ceiling height and access
A standard-height garage puts the head unit in easy ladder reach. High ceilings, high-lift tracks, storage lofts or a car that cannot be moved add setup time and sometimes a taller ladder.
3Which component failed
A capacitor, a sensor pair or a re-engaged trolley sits at one end of the range; a logic board or a motor sits at the other. The diagnosis names the part before the quote is settled.
Garage Door Opener Diagnosis and Repair: questions
Will the repair happen during the same visit?
When the cause is a common part carried on the truck, yes: capacitors, gear kits, sensor pairs, trolleys, wall controls, remotes and wiring are typical. When the part is specific to an older model and has to be ordered, or when the diagnosis finds a spring or cable problem that needs its own appointment, the door is left safe and the next step is agreed with you before the technician leaves.
There are white plastic shavings under the opener. What are they?
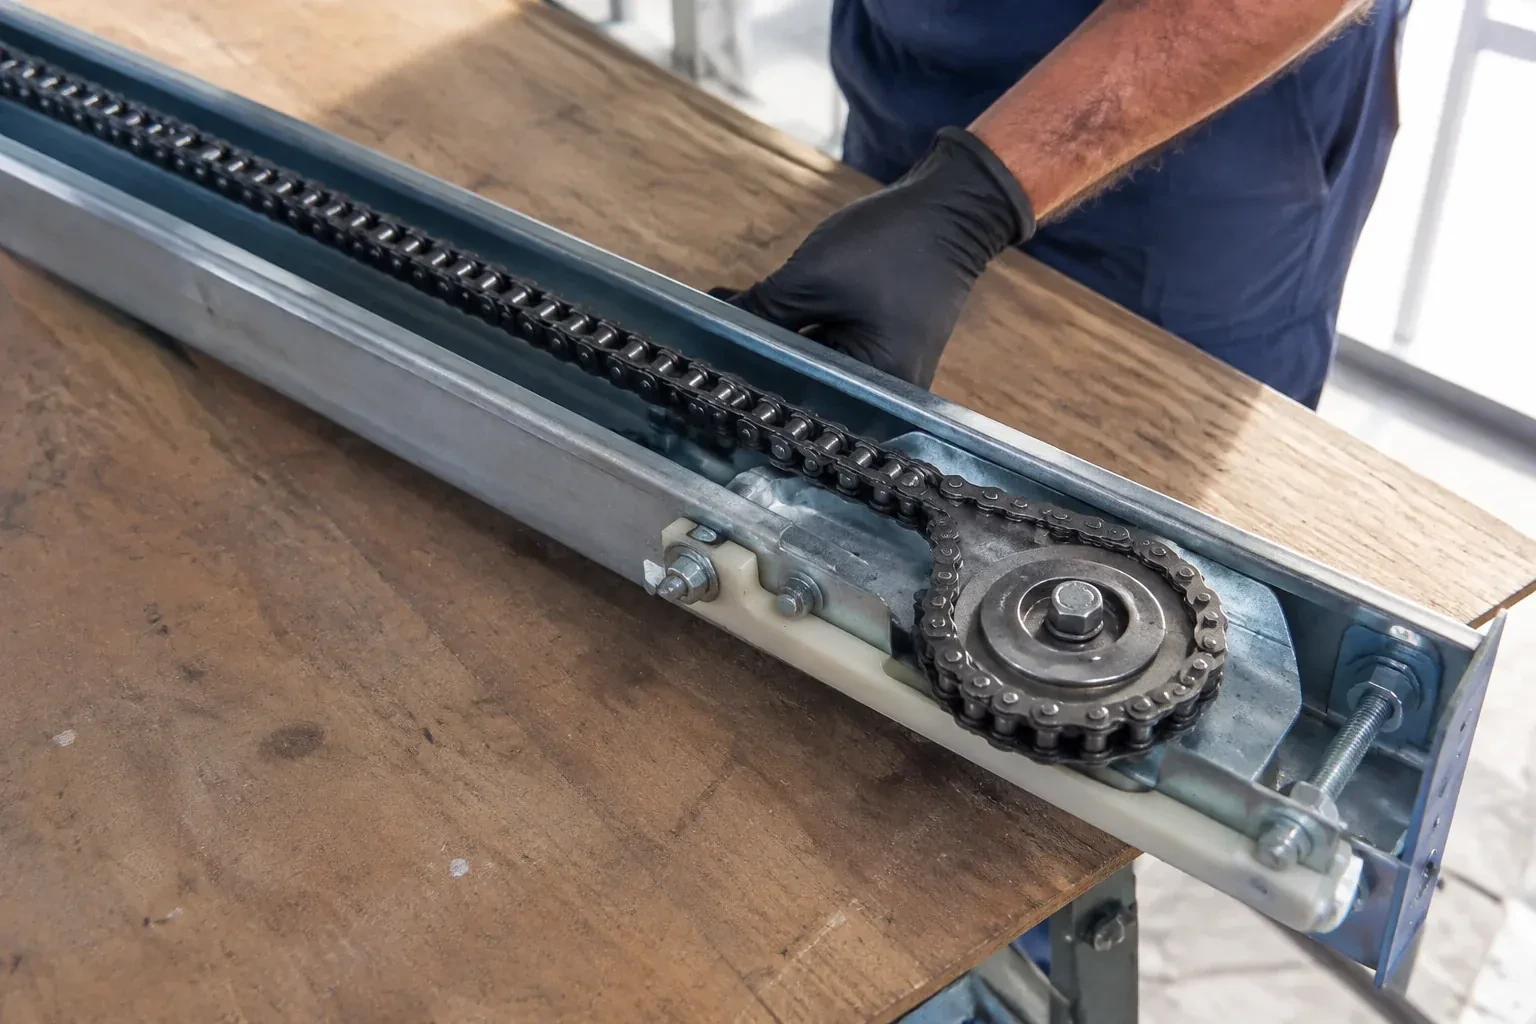
Teeth from the drive gear. Many chain-drive openers use a nylon gear between the motor and the sprocket, and after years of running, especially against a heavy or dry door, its teeth shear off and fall as fine white curls onto whatever is parked below. The motor then spins without moving the chain. The gear and sprocket are replaced as a kit, and the door balance is checked so the new gear is not asked to carry the same load.
Can the force just be turned up so the door closes in winter?
Raising force is not the fix; it only hides one. The force setting is the opener's sense of touch, and turning it up so a door pushes through a frozen seal or stiff rollers also means it pushes harder against anything else in its path. The right approach is to free the seal, lubricate the moving parts for cold weather, confirm the balance, and then set force as low as reliably works, proving it with the 2x4 test.
Openers & Access
- Belt-Drive Opener RepairPress the remote and the motor runs its full cycle, lights on, the usual whir, but the door does…
- Garage Door Opener ReplacementThe bedroom above the garage shakes every morning at six when the chain drive fires up.
- Photo-Eye Sensor Alignment or ReplacementAfter a cold night the door stays open until the garage warms up.
Garage Door Opener Diagnosis and Repair near you
The garage door services we bring to Toronto fall into four groups: repair and maintenance for doors that are sticking or noisy; springs and lifting hardware; openers, remotes and access; and new door installation or upgrade for homes and businesses that are ready for a change.